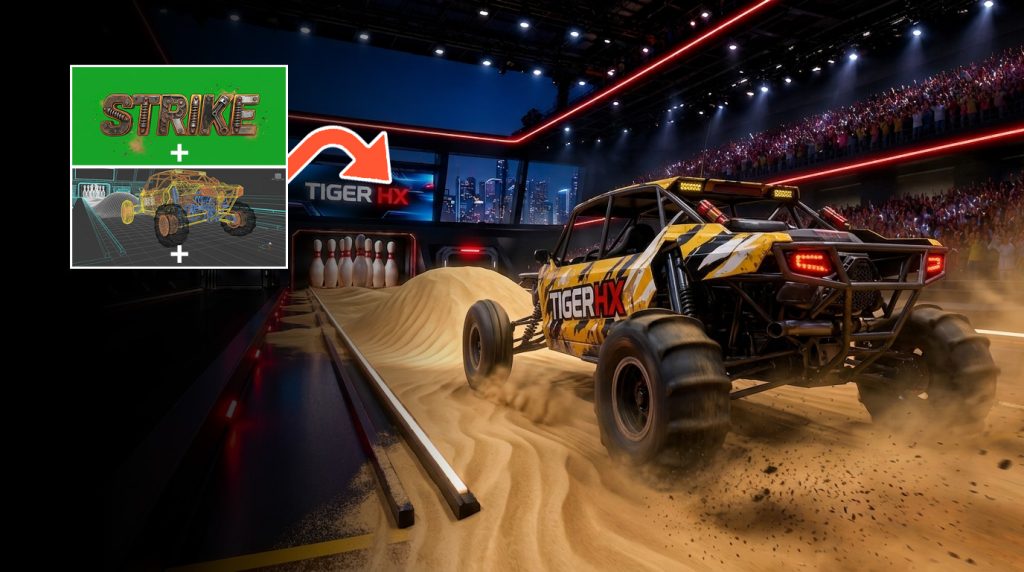
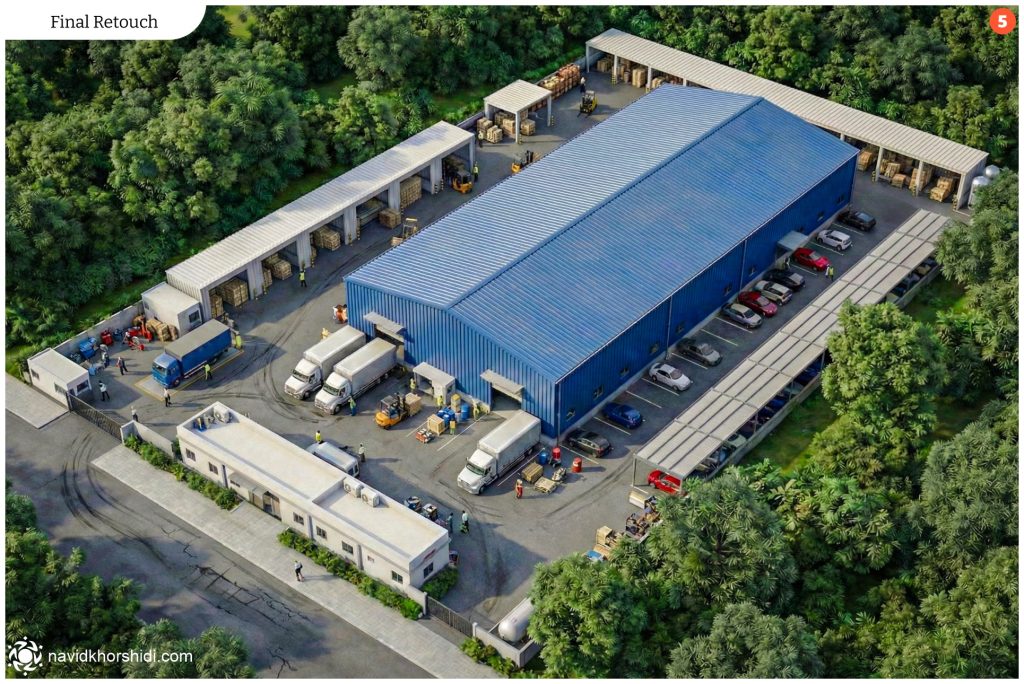
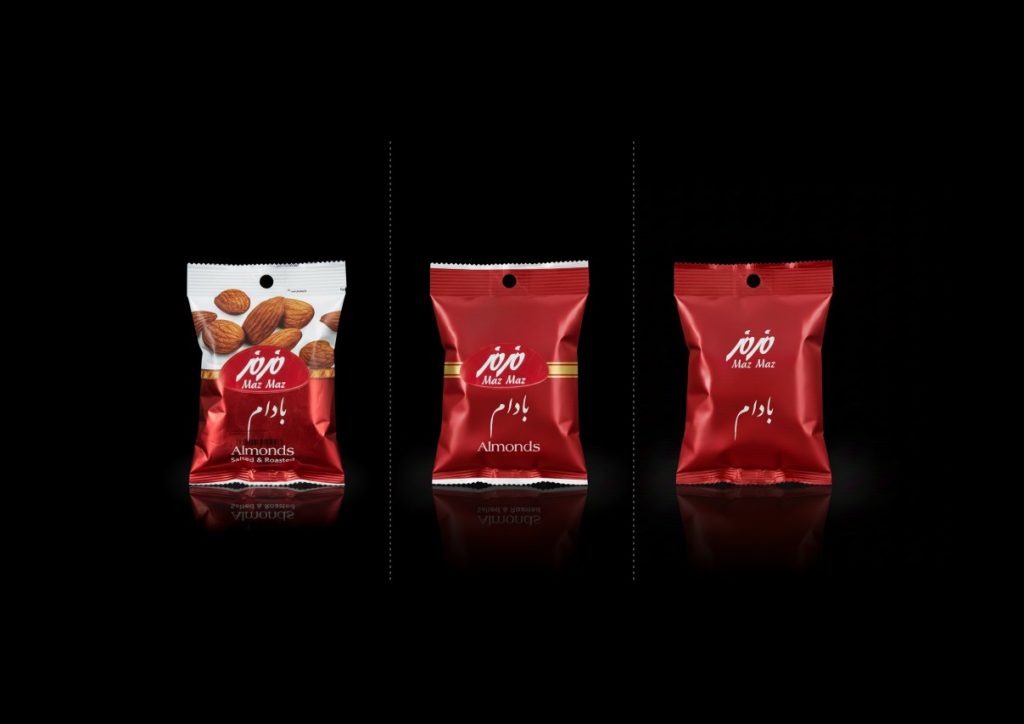
A client needed a short branded video for Iran’s National Quality Day (18 Aban). The project was made of eight video clips. Preparing them took about a day, and the final build took less than an hour. I did it without a powerful machine: my graphics card is a GTX 1650, which is very weak for AI video.
The total cost was under 10 Higgsfield credits, spent on the narration and on the one clip my computer couldn’t handle. Everything else ran locally on my own machine or on free tools.
In this post I’ll walk you through every stage: reference images from Gemini, image-to-video generation locally in ComfyUI with LTX 2.5, narration with ElevenLabs v3, sound effects from Pixabay, and an After Effects script that Claude Opus 5.5 wrote to assemble the project. I’ll also explain why I chose each tool and where a weak GPU forced me to change the plan.
The finished 34-second video (9:16). Everything below explains how it was made.
The pipeline at a glance
- Start frame images with Gemini
- Frames to video clips (image-to-video) with LTX 2.5 in ComfyUI, running locally, and Kling 3 for the one clip that was too heavy
- Narration with ElevenLabs v3 through Higgsfield
- Sound effects from Pixabay
- Assembly with an After Effects script written by Claude Opus 5.5
- Manual polish of audio timing and subtitles
Step 0: Start from the brand, not from the tools
Before generating a single image, I gave Claude the client’s brand guideline and their rough draft copy. A guideline is more than a logo and a color palette. Its archetype, voice rules and do and don’t vocabulary work almost like a ready-made prompt for tone, and its imagery rules tell you what the visuals should look like.
From that, Claude rewrote the copy into two versions: a caption for the social post, and a much shorter script for the video’s narration and on-screen text. Writing them separately at the start avoids the common problem of cutting a long caption down to fit a video and losing its hook.
Claude as the director
I connected Higgsfield to Claude Opus 5.5, so Claude could handle the cloud side of the project inside one conversation: planning the scenes, writing the generation prompts, submitting them and checking the results. That conversation held the brand rules, the script and the scene list, so I never had to copy prompts between windows or re-explain the project.
My role was closer to a creative director: approving frames, rejecting what didn’t fit, and deciding on the details that need taste.
Step 1: Reference images with Gemini
AI video is only as consistent as its inputs. I started by creating a few images in Gemini to lock the visual direction: the environment, the lighting and the industrial feel that matched the brand’s imagery rules.
These images became the visual anchor. Every later prompt could point back to them, which reduces the drift between scenes that makes AI video look stitched together.
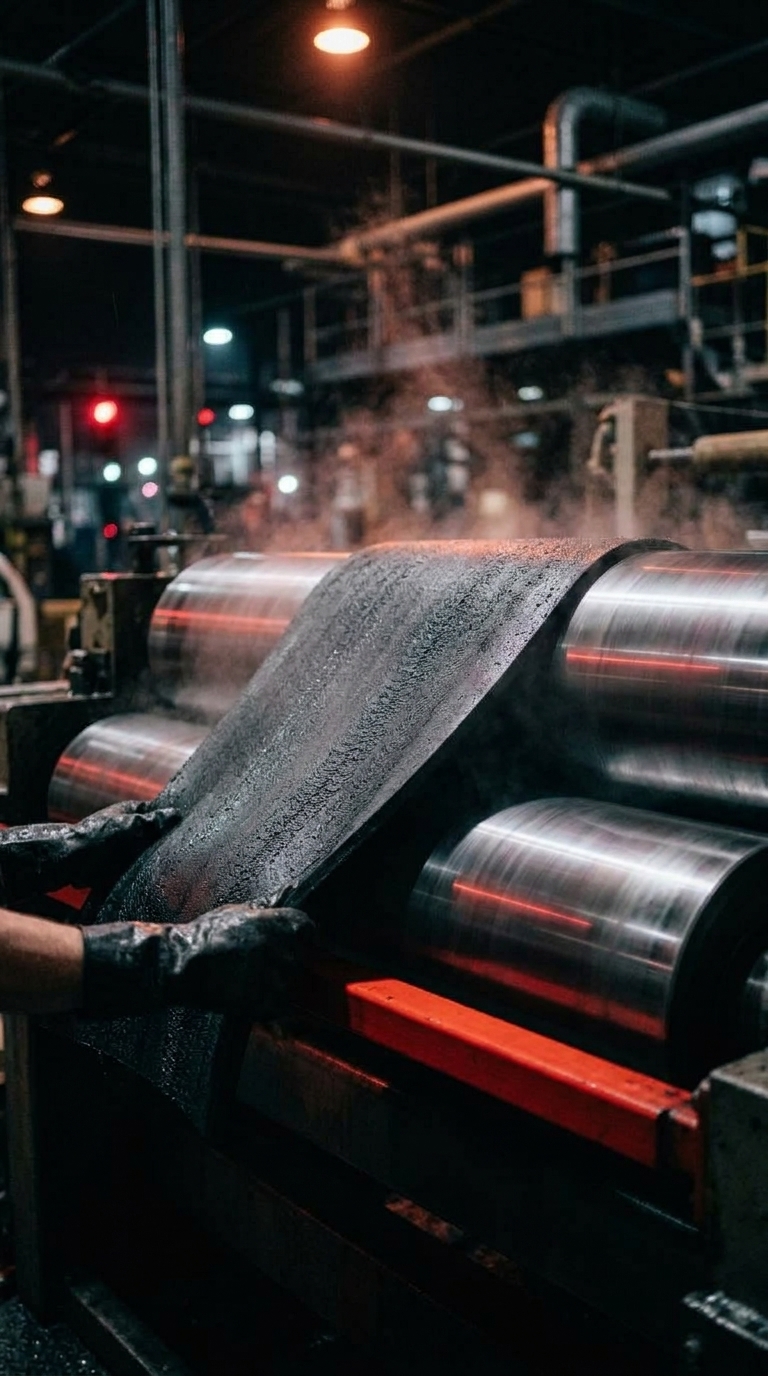
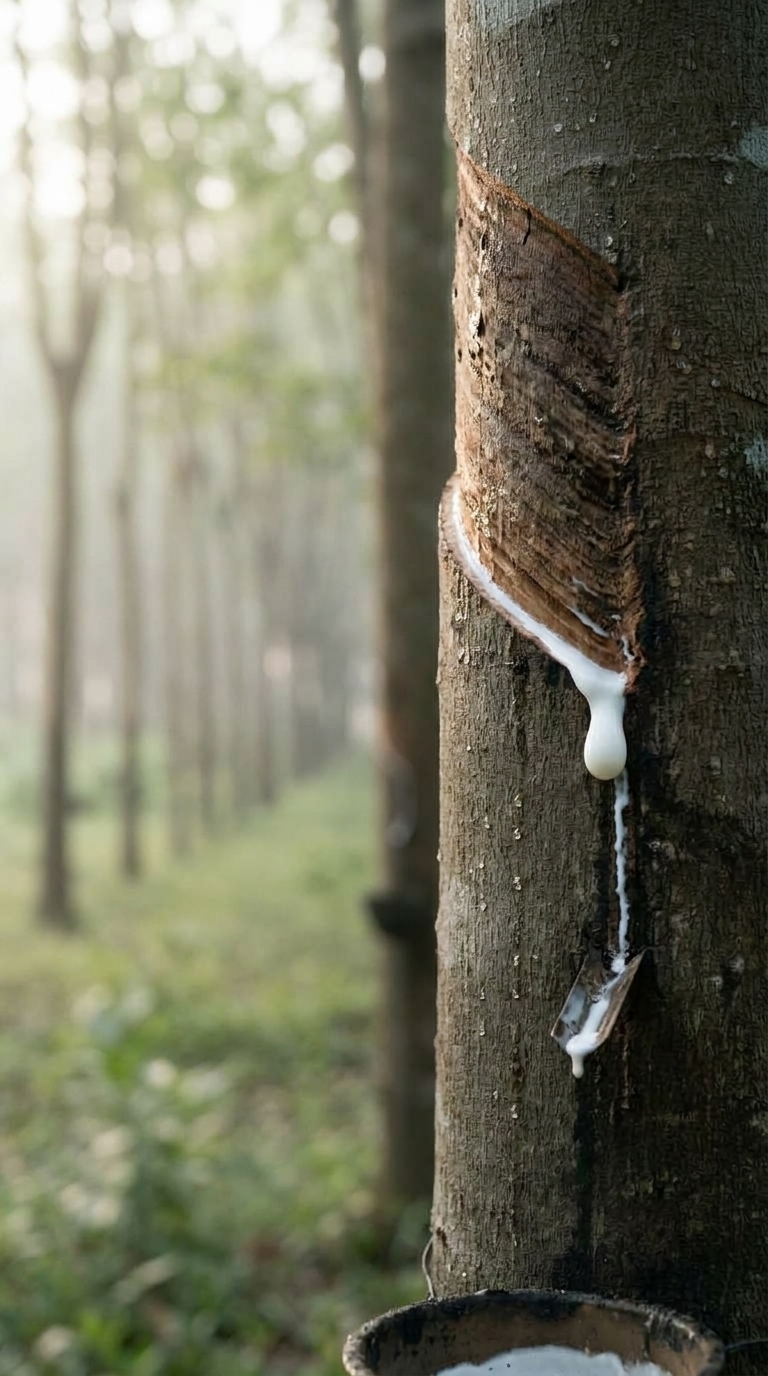
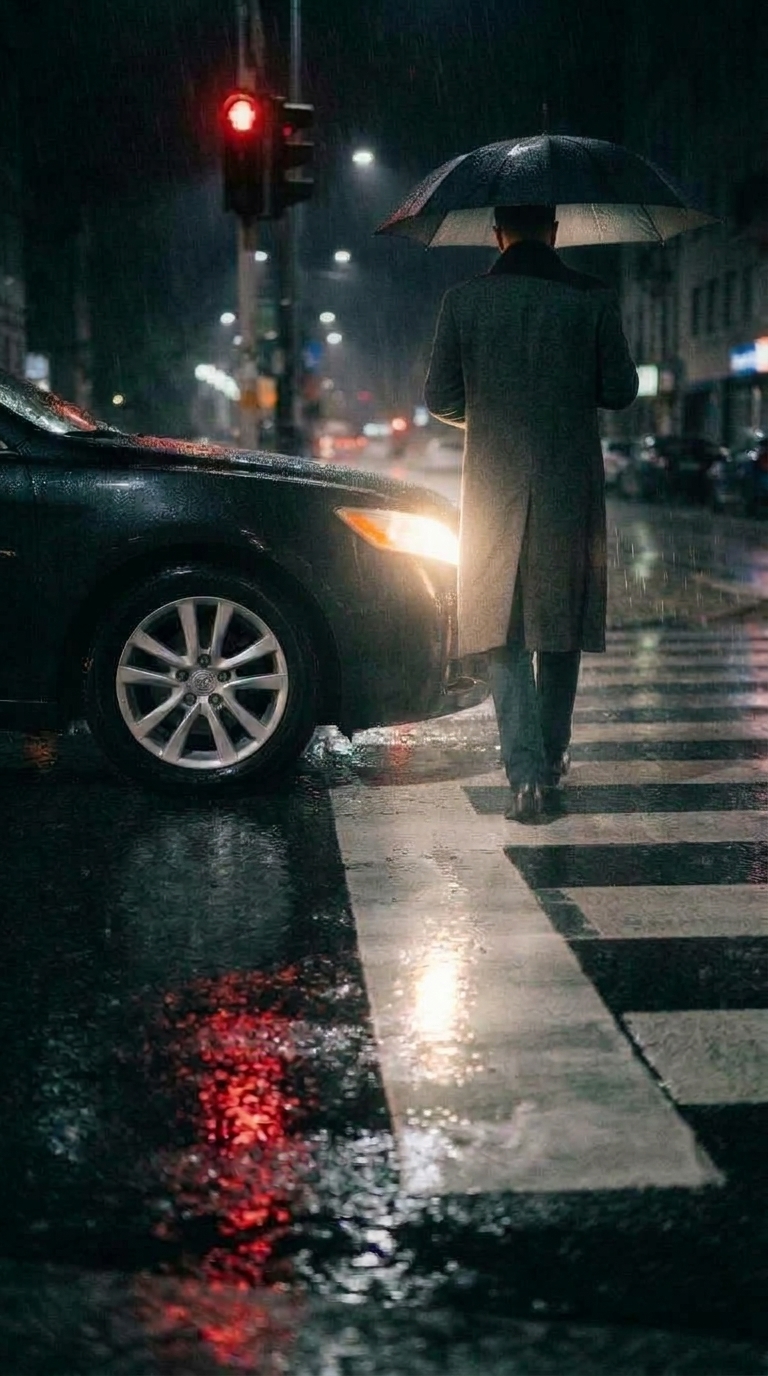
Three of the approved start frames, before any motion was added.
Step 3: Frames first, then video, and why I ran it locally
I didn’t generate video directly from text. The order was:
- Generate start frames.
- Review them and keep only the frames that match the direction.
- Turn each approved frame into a video clip with image-to-video.
This order matters for three reasons. Images are cheap to reject, while video clips are not. Each clip starts from a frame I already approved, so composition and look are decided before any motion is added. And image-to-video keeps the model close to the source frame, which limits unpleasant surprises.
Clip 7, the pedestrian shot: the approved frame above, turned into a 5-second video.
For the image-to-video step I used LTX 2.5 inside ComfyUI, running on my own computer. The main reason is cost. A local model has no per-generation fee, so rerolling a clip costs only time, and with AI video you reroll a lot.
Running it on a GTX 1650
I’ll be honest about the hardware: a GTX 1650 is far weaker than what AI video generation normally expects. It still worked, because starting from an approved frame keeps each run focused, and because rerolls cost nothing but time, a slow card can simply work through them. The trade-off is patience. Generating the eight clips is what took most of the day.
When to go to the cloud
One clip was too heavy for my machine. For that one I switched to Kling 3 through Higgsfield and generated it in the cloud. Together with the narration, that single clip used fewer than 7 credits, which was all the cloud compute the project needed. The rule I took from this is simple: run locally by default, and use the cloud only for the shots your hardware can’t handle.
Step 4: Narration with ElevenLabs v3
The narration script came from the campaign copy, written to match the brand’s voice: calm, protective and authoritative. I generated the voiceover with ElevenLabs v3, accessed through Higgsfield, so it used a small part of the same credit balance.
Two practical tips. Write narration for the ear, with short sentences and clear pauses, because it gives cleaner takes and makes timing easier later. And generate the full narration in one pass first, then regenerate only the lines that need fixing. When credits are limited, this also saves allowance.
Step 5: Sound effects from Pixabay
AI video clips come out silent, and a silent clip with only a voiceover feels flat. Sound effects add the physical layer that makes scenes feel real: machinery, movement, ambience and transitions.
I used Pixabay’s free sound effects library because searching and downloading takes seconds, and because it added nothing to the cost. A few rules I followed:
- Choose sounds per scene, based on what is visible in the frame, instead of one generic background track.
- Keep effects quieter than the narration, so they support the voice instead of competing with it.
- Name files by scene number, for example scene03_machinery.mp3, so the assembly script can import them in order.
Step 6: An After Effects script written by Claude
This was the biggest time saver in the final build. Instead of importing files, creating compositions and placing layers by hand, I asked Claude Opus 5.5 to write an After Effects script that did the setup in one run.
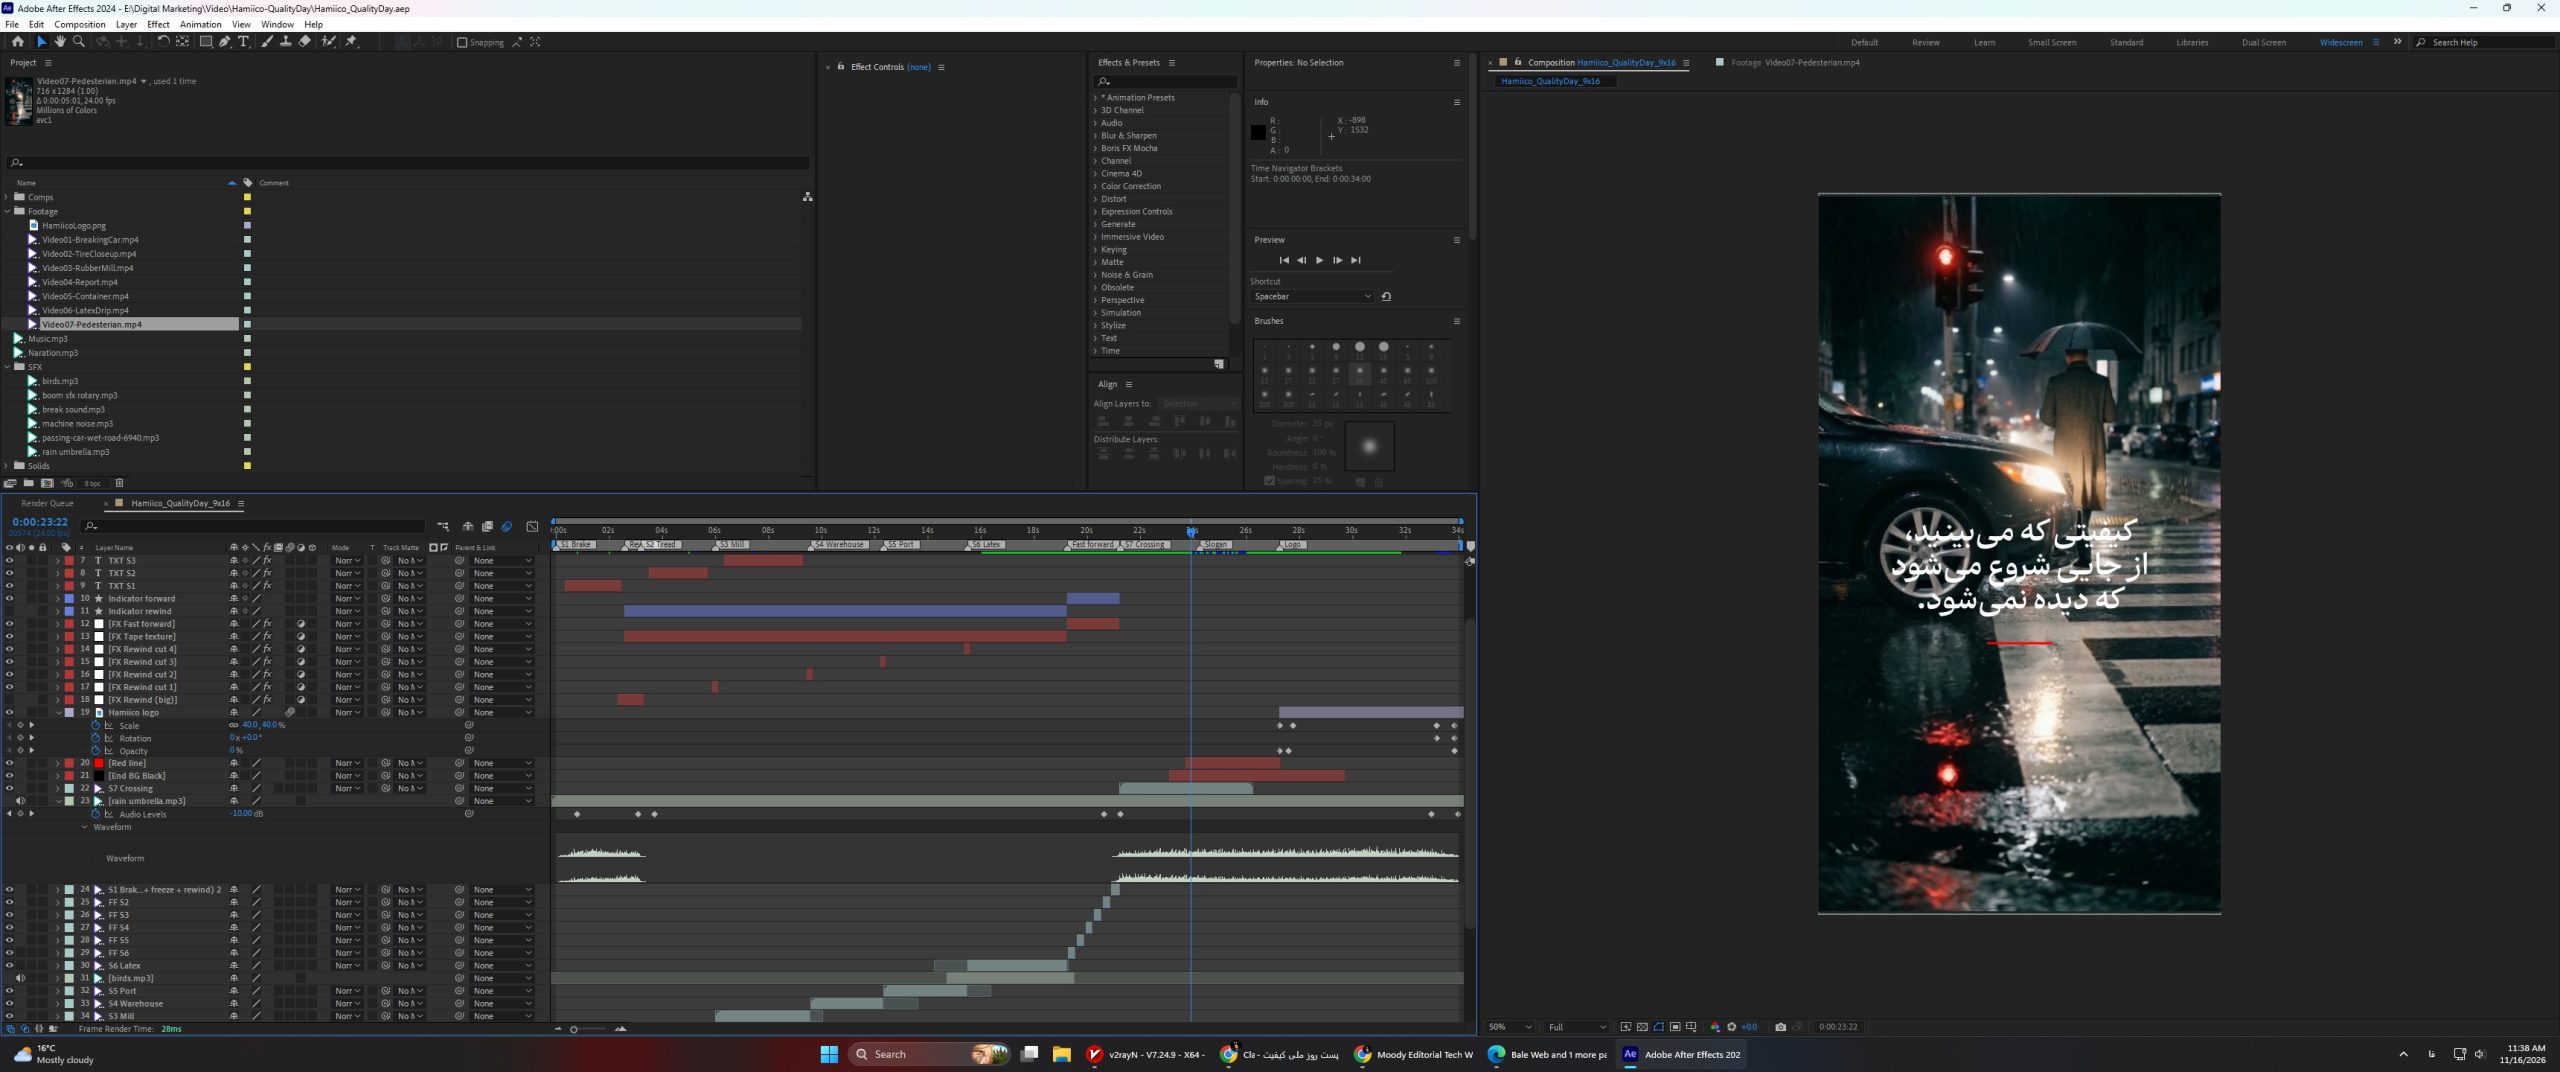
To make it work, Claude needed the file names, the order of the scenes, the target format and the brand’s visual rules. With that information, the script prepared the project: it imported the clips, narration and sound effects, created the composition, and laid everything out on the timeline so that the project opened ready to edit.
Step 7: Manual polish
The automated output was close but not final. I spent my own time on the two things automation handles least well: audio timing, so that each narration line lands on the right shot, and subtitles, where timing and line breaks decide whether the text is comfortable to read. Then I exported the final video.
Time and cost breakdown
The work split into two very different phases. Preparation, meaning references, frames and the eight clips, took about a day, mostly because of generation time on a weak GPU. The final build, meaning narration, sound effects, the After Effects script and the polish, took less than an hour. The only credits spent were fewer than 10 Higgsfield credits, covering the narration and the one heavy clip.
| Stage | Tool | Phase | Cost |
|---|---|---|---|
| Reference images | Gemini | Preparation (about 1 day) | Free |
| Key frames | Kling 3 via Higgsfield | Preparation | Free |
| Seven video clips | LTX 2.5 in ComfyUI, local | Preparation | Free (runs on my own PC) |
| One heavy video clip | Kling 3 via Higgsfield | Preparation | Part of the 7 credits |
| Narration | ElevenLabs v3 via Higgsfield | Final build (under 1 hour) | Part of the 1 credits |
| Sound effects | Pixabay | Final build | Free |
| Assembly | Claude Opus 5.5 and After Effects | Final build | Free |
| Polish | After Effects | Final build | – |
| Total | About 8 Higgsfield credits |
Key takeaways
- Start from the brand guideline, because it defines both the voice and the look.
- Lock the look with reference images before generating anything else.
- Go frames first, then image-to-video, so expensive generations start from approved material.
- You don’t need a strong GPU. A local model on weak hardware trades money for time, but better GPU means faster results.
- Run locally by default and use the cloud only for the shots your hardware can’t handle.
- Let an AI write the assembly script, and spend your own time on timing and subtitles.
- A professional result doesn’t need a big budget. Local models plus a handful of cloud credits were enough for a complete branded video.
None of these steps is complicated on its own. The speed comes from putting them in the right order, using each tool where it is strongest, and letting one orchestrator keep the project consistent. If you’d like help building a similar workflow for your brand, get in touch.